Pressure Sensor: Arduino for I/O
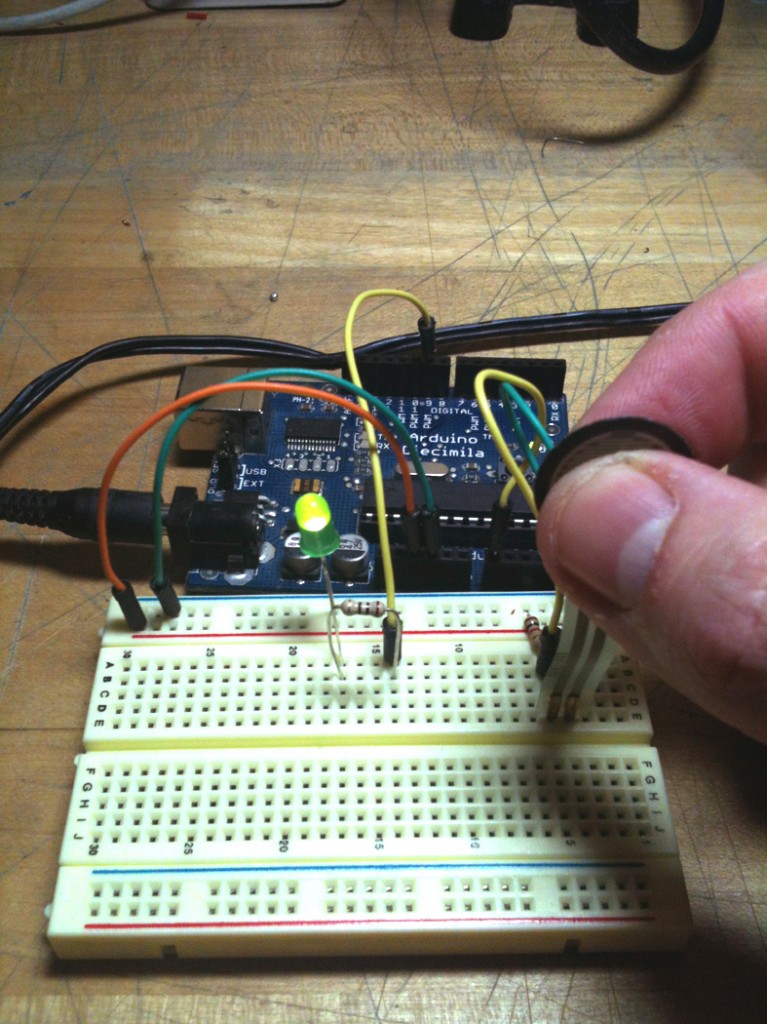
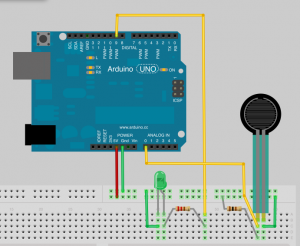
Here is a simple Arduino sketch using a pressure sensor to send a signal. This sketch doesn’t demo what would be input from RAPID, but you can think of it as the sensor data (on analog pin 0 in this example). Read a pin, monitor the value and if it changes, do something.
This schematic should work for most analog sensors. The breadboard layout and code were adapted from HERE. The same website has a link to an open source mini robotic arm…
———————————————————————————————————————————————————-
//Arduino to I/O for RAPID, ABB control
int pressPin = 0; //pressure sensor to Arduino A0
int initReading; //variable for the initial reading,
// of the pressure sensor.
int reading; //variable for storing current pressure
//reading
boolean startUp; //sets up a calibration ‘switch’
int di1Pin = 9; //sends signal to robot controller
void setup()
{
//Serial.begin(9600); //Setup a serial connection for debug.
initReading = 0; //Initialize initReading.
reading = analogRead(pressPin); //Reading equals the value,
//returned by the sensor.
startUp = true; //Initialize the calibration switch to ‘on’
pinMode(di1Pin, OUTPUT); //Pin 9 is set to SEND a signal.
}
void loop()
{
calibrate(); //calls the function defined below
reading = analogRead(pressPin); //Reading equals the value,
//from the sensor
if(reading < initReading*.9) //If reading is less than 90%,
{ //of the initial sensor value,
digitalWrite(di1Pin, HIGH); //send a signal to the controller.
}
else //Otherwise,
{
digitalWrite(di1Pin,LOW); //send no signal.
}
}
void calibrate() //The first thing to do in the loop,
{
if(startUp == true) //if the calibration switch is on (which it is),
{
initReading = reading; //set initReading equal to the sensor
//value.
startUp = false; //And shut of the calibration switch.
}
}


